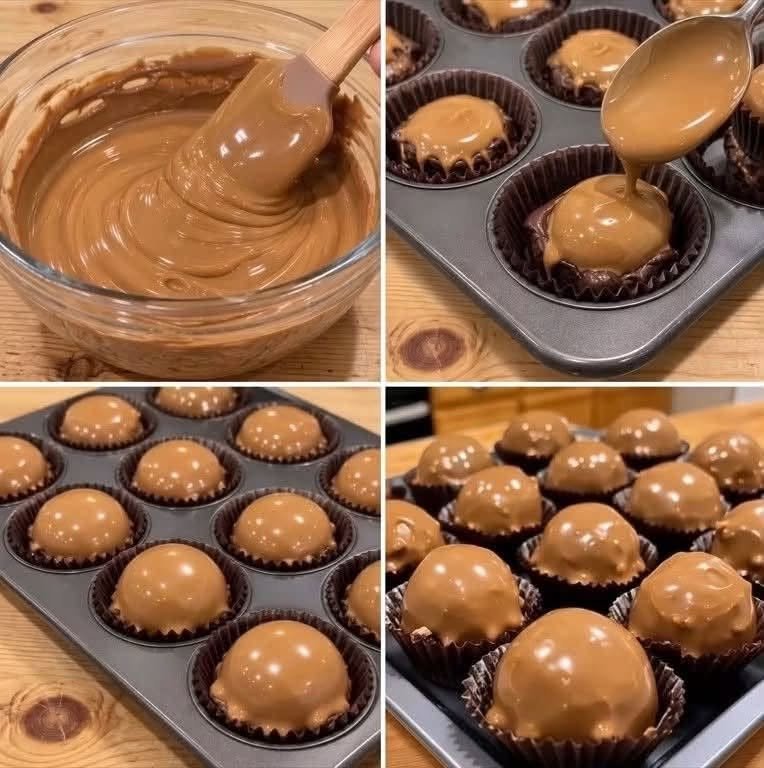
When baking or making no-bake treats, Butterfinger balls are a perennial holiday and party favorite, but homemade versions often turn out oily, rock-hard, or lacking that signature crisp-shardy crunch of the candy bar.
The underlying culinary and confectionery reality is straightforward: replicating the distinct texture of a Butterfinger relies on creating a flaky, peanut-butter-sugar core (often simulated using crushed candy bars or a clever mix of peanut butter, powdered sugar, and crushed cornflakes) coated in a proper tempering of chocolate.
A foolproof, incredibly delicious recipe for homemade Butterfinger balls delivers that addictive peanut butter crunch without the kitchen frustration.
The Foolproof No-Bake Butterfinger Ball Method
Ingredients:
-
1 cup creamy peanut butter (standard commercial peanut butter like Jif or Skippy works better here than natural oils-separating peanut butter)
-
¼ cup unsalted butter, melted
-
1 cup powdered sugar
-
1 cup graham cracker crumbs (or finely crushed vanilla wafers)
-
1 ½ cups crushed cornflakes (the secret weapon for that authentic crispy, flaky center crunch)
-
Pinch of kosher salt
-
12 oz chocolate baking wafers or high-quality chocolate chips (for coating)
-
1 teaspoon coconut oil or vegetable shortening (helps smooth out the melted chocolate for easy dipping)
Step-by-Step Instructions
Pro-Tips for Confectionery Success
-
Why the Cornflakes Matter: Real Butterfingers get their texture from a honey-comb peanut butter crisp candy layered with chocolate. Without crushed cornflakes or crispy cereal in the dough, homemade versions taste like a standard peanut butter truffle—delicious, but missing that iconic shatter-crunch.
-
Storage: Store your Butterfinger balls in an airtight container in the refrigerator for up to two weeks (or freeze them for up to two months). They taste phenomenal chilled straight from the fridge!
