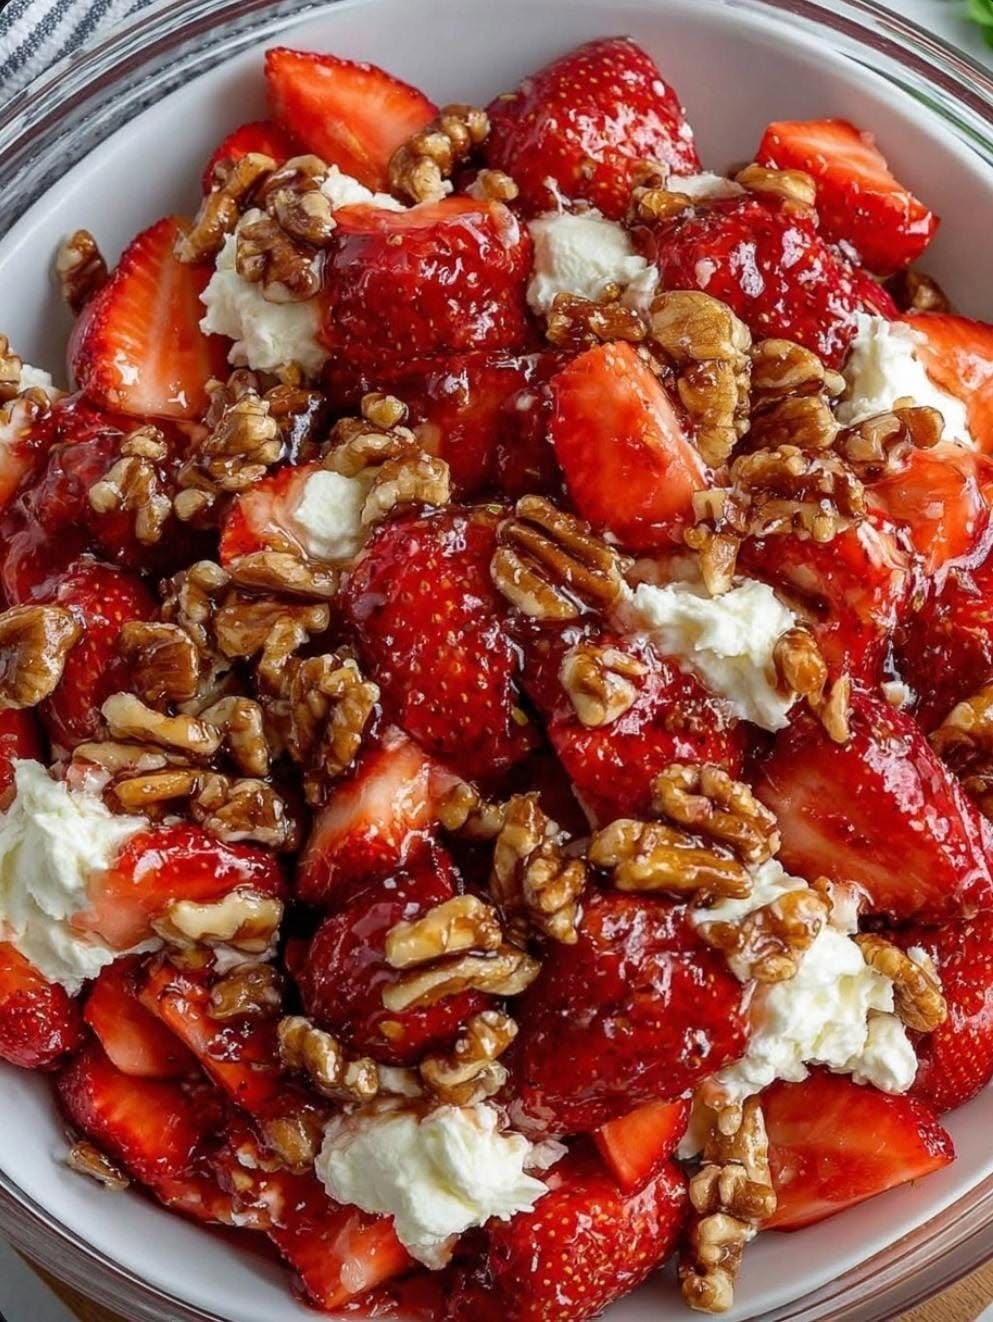
There is a wonderful nostalgia to the classic Midwestern dessert salads that show up at every summer potluck, family reunion, and holiday cookout. Strawberry Crackle Salad (sometimes called strawberry pretzel salad or crunch salad) is a brilliant masterclass in contrasting textures and flavors.
It features a salty-sweet, buttery pretzel (or graham cracker) crust, a rich, creamy middle layer of sweetened cream cheese and whipped topping, a vibrant layer of fresh sweet strawberries, and a glossy strawberry gelatin set on top. Every bite delivers a satisfying mix of crunch, creaminess, and fruity brightness.
Here is how to make a show-stopping, crowd-pleasing Strawberry Crackle Salad in a standard 9×13-inch baking dish.
Ingredients
For the Crust:
-
2 cups crushed salted pretzels (or a mix of pretzels and graham crackers for a slightly sweeter crunch)
-
3/4 cup (1.5 sticks) unsalted butter, melted
-
3 tbsp granulated sugar
For the Creamy Filling:
-
8 oz cream cheese, softened to room temperature
-
1 cup granulated sugar (or powdered sugar for an ultra-smooth texture)
-
1 tsp vanilla extract
-
8 oz container frozen whipped topping (such as Cool Whip), thawed in the fridge
For the Strawberry Topping:
-
2 packages (3 oz each) strawberry gelatin (Jell-O)
-
2 cups boiling water
-
1 cup cold water (or ice cubes)
-
4 cups fresh strawberries, hulled and sliced into quarters or thick rounds
Step 1: Bake the Salty-Sweet Crust
-
Preheat your oven to 350°F (175°C).
-
Crush your pretzels into coarse crumbs (you want small, crunchy pieces, not fine powder). A Ziploc bag and a rolling pin work wonders here.
-
In a mixing bowl, combine the crushed pretzels, melted butter, and 3 tablespoons of sugar, tossing until every crumb is evenly coated.
-
Press the mixture firmly and evenly into the bottom of a 9×13-inch glass baking dish.
-
Bake at 350°F for 10 to 12 minutes until the crust is lightly toasted and fragrant. Remove from the oven and let it cool completely to room temperature (crucial so it doesn’t melt the cream cheese layer).
Step 2: Whip the Creamy Center
-
In a large mixing bowl, beat the softened cream cheese, 1 cup of sugar, and vanilla extract together using an electric mixer until completely smooth, light, and fluffy.
-
Gently fold the thawed whipped topping into the cream cheese mixture using a spatula until no white streaks remain.
-
Carefully dollop and spread this creamy mixture evenly over your completely cooled pretzel crust.
-
Important Sealing Step: Make sure you spread the cream cheese mixture all the way to the edges of the dish, sealing it tightly against the glass. This creates a barrier that keeps the wet gelatin from making your pretzel crust soggy!
-
Place the pan in the refrigerator to chill for at least 30 minutes while you prep the topping.
Step 3: Prepare the Strawberry Gelatin Layer
-
In a large bowl, dissolve the 2 packages of strawberry gelatin powder into the 2 cups of boiling water, stirring continuously for about 2 minutes until fully dissolved.
-
Stir in the 1 cup of cold water (or use 1/2 cup cold water and 1/2 cup ice cubes to help it cool down faster). Let the mixture cool on the counter until it reaches room temperature—do not let it start setting in the bowl, or you won’t be able to pour it.
Step 4: Assemble and Chill to Set
-
Scatter your sliced fresh strawberries evenly over the chilled cream cheese layer.
-
Gently pour the cooled liquid strawberry gelatin over the strawberries. (If any float to the top, just nudge them into place with a spoon).
-
Place the baking dish back into the refrigerator for at least 4 hours (overnight is even better) until the gelatin is completely set and firm.
Step 5: Slice and Serve
-
Cut into neat squares using a sharp knife dipped in warm water (this helps slice cleanly through the crust and gelatin).
-
Serve chilled and watch how fast it disappears! The salty crunch of the crust paired with the sweet cream and fresh fruit makes it an unforgettable treat.
