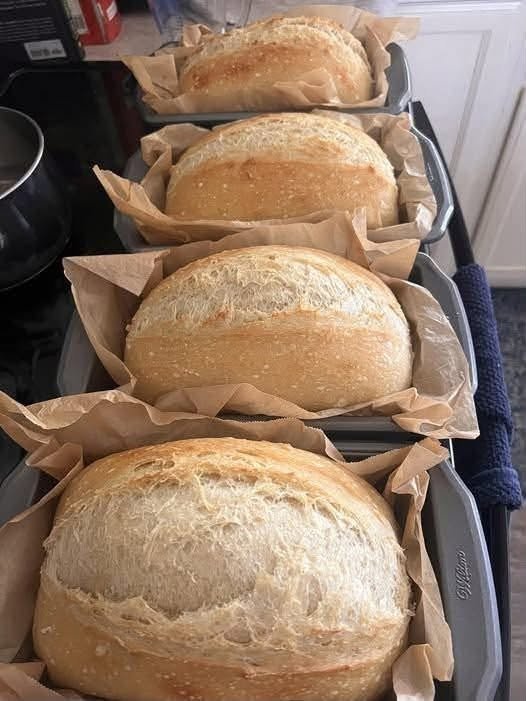
This no-knead sandwich bread delivers a soft, pillowy crumb and a light, tender crust without any tiring arm workout or specialized equipment. It relies on a wet dough and a longer rise time to naturally develop gluten for a perfect sliceable loaf.
Ingredients
-
Flour: 3 cups (360g) all-purpose flour or bread flour (plus extra for dusting)
-
Yeast: 1 package (2 ¼ teaspoons / 7g) instant or active dry yeast
-
Liquid: 1 ¼ cups (300ml) warm milk or water (around 105°F–110°F)
-
Fat: 3 tablespoons unsalted butter, melted (or neutral oil)
-
Sweetener: 2 tablespoons honey, maple syrup, or granulated sugar
-
Salt: 1 ½ teaspoons fine salt
Step-by-Step Instructions
Step 1: Mix the Dough
-
In a large mixing bowl, combine the warm milk (or water), honey (or sugar), and yeast. Let it sit for 5 minutes until slightly frothy.
-
Stir in the melted butter and salt.
-
Add the flour to the bowl and stir with a sturdy wooden spoon or rubber spatula for 1 to 2 minutes until no dry flour streaks remain. The dough will look thick, shaggy, and sticky—that is exactly what you want.
Step 2: First Rise (Bulk Fermentation)
-
Cover the bowl tightly with plastic wrap or a damp kitchen towel.
-
Place it in a warm, draft-free spot for 1.5 to 2 hours (or until the dough doubles in size and looks puffy and full of air bubbles).
Step 3: Shape the Loaf
-
Lightly grease an 8.5×4.5-inch or 9×5-inch standard loaf pan with butter or non-stick spray.
-
Lightly dust your work surface with flour. Scrape the sticky dough out of the bowl onto the surface.
-
Gently press the dough into a rough rectangle (about 8×10 inches). Roll the dough up tightly into a log, tucking the ends under to seal the seam.
-
Transfer the shaped log seam-side down into your prepared loaf pan.
Step 4: Second Rise & Bake
-
Cover the loaf pan loosely with a clean towel and let it rise for 45 to 60 minutes, until the dough rises about 1 inch above the rim of the pan.
-
Meanwhile, preheat your oven to 350°F (175°C).
-
(Optional) Gently brush the top of the risen dough with a little melted butter or milk for a soft, golden crust.
-
Bake for 30 to 35 minutes, until the top is deep golden brown and the bottom sounds hollow when tapped. (If the top browns too quickly after 20 minutes, loosely tent a piece of aluminum foil over the top).
Step 5: Cool and Slice
-
Remove the bread from the oven and let it rest in the pan for 10 minutes.
-
Turn the loaf out onto a wire cooling rack. Brush the hot top crust with a bit of melted butter to keep it extra tender.
-
Allow the loaf to cool completely (at least 1 to 2 hours) before slicing. Slicing warm bread will squish the soft interior into a gummy texture!
Pro Tips for Success
-
Storage: Keep the sliced bread wrapped in a sealed bag or bread box at room temperature for up to 4 days, or freeze sliced loaves for up to 3 months.
-
Overnight Option: You can mix the dough, cover it, and let it rise slowly in the refrigerator for 8 to 12 hours overnight. Shape and bake the next morning for an even deeper flavor profile!
