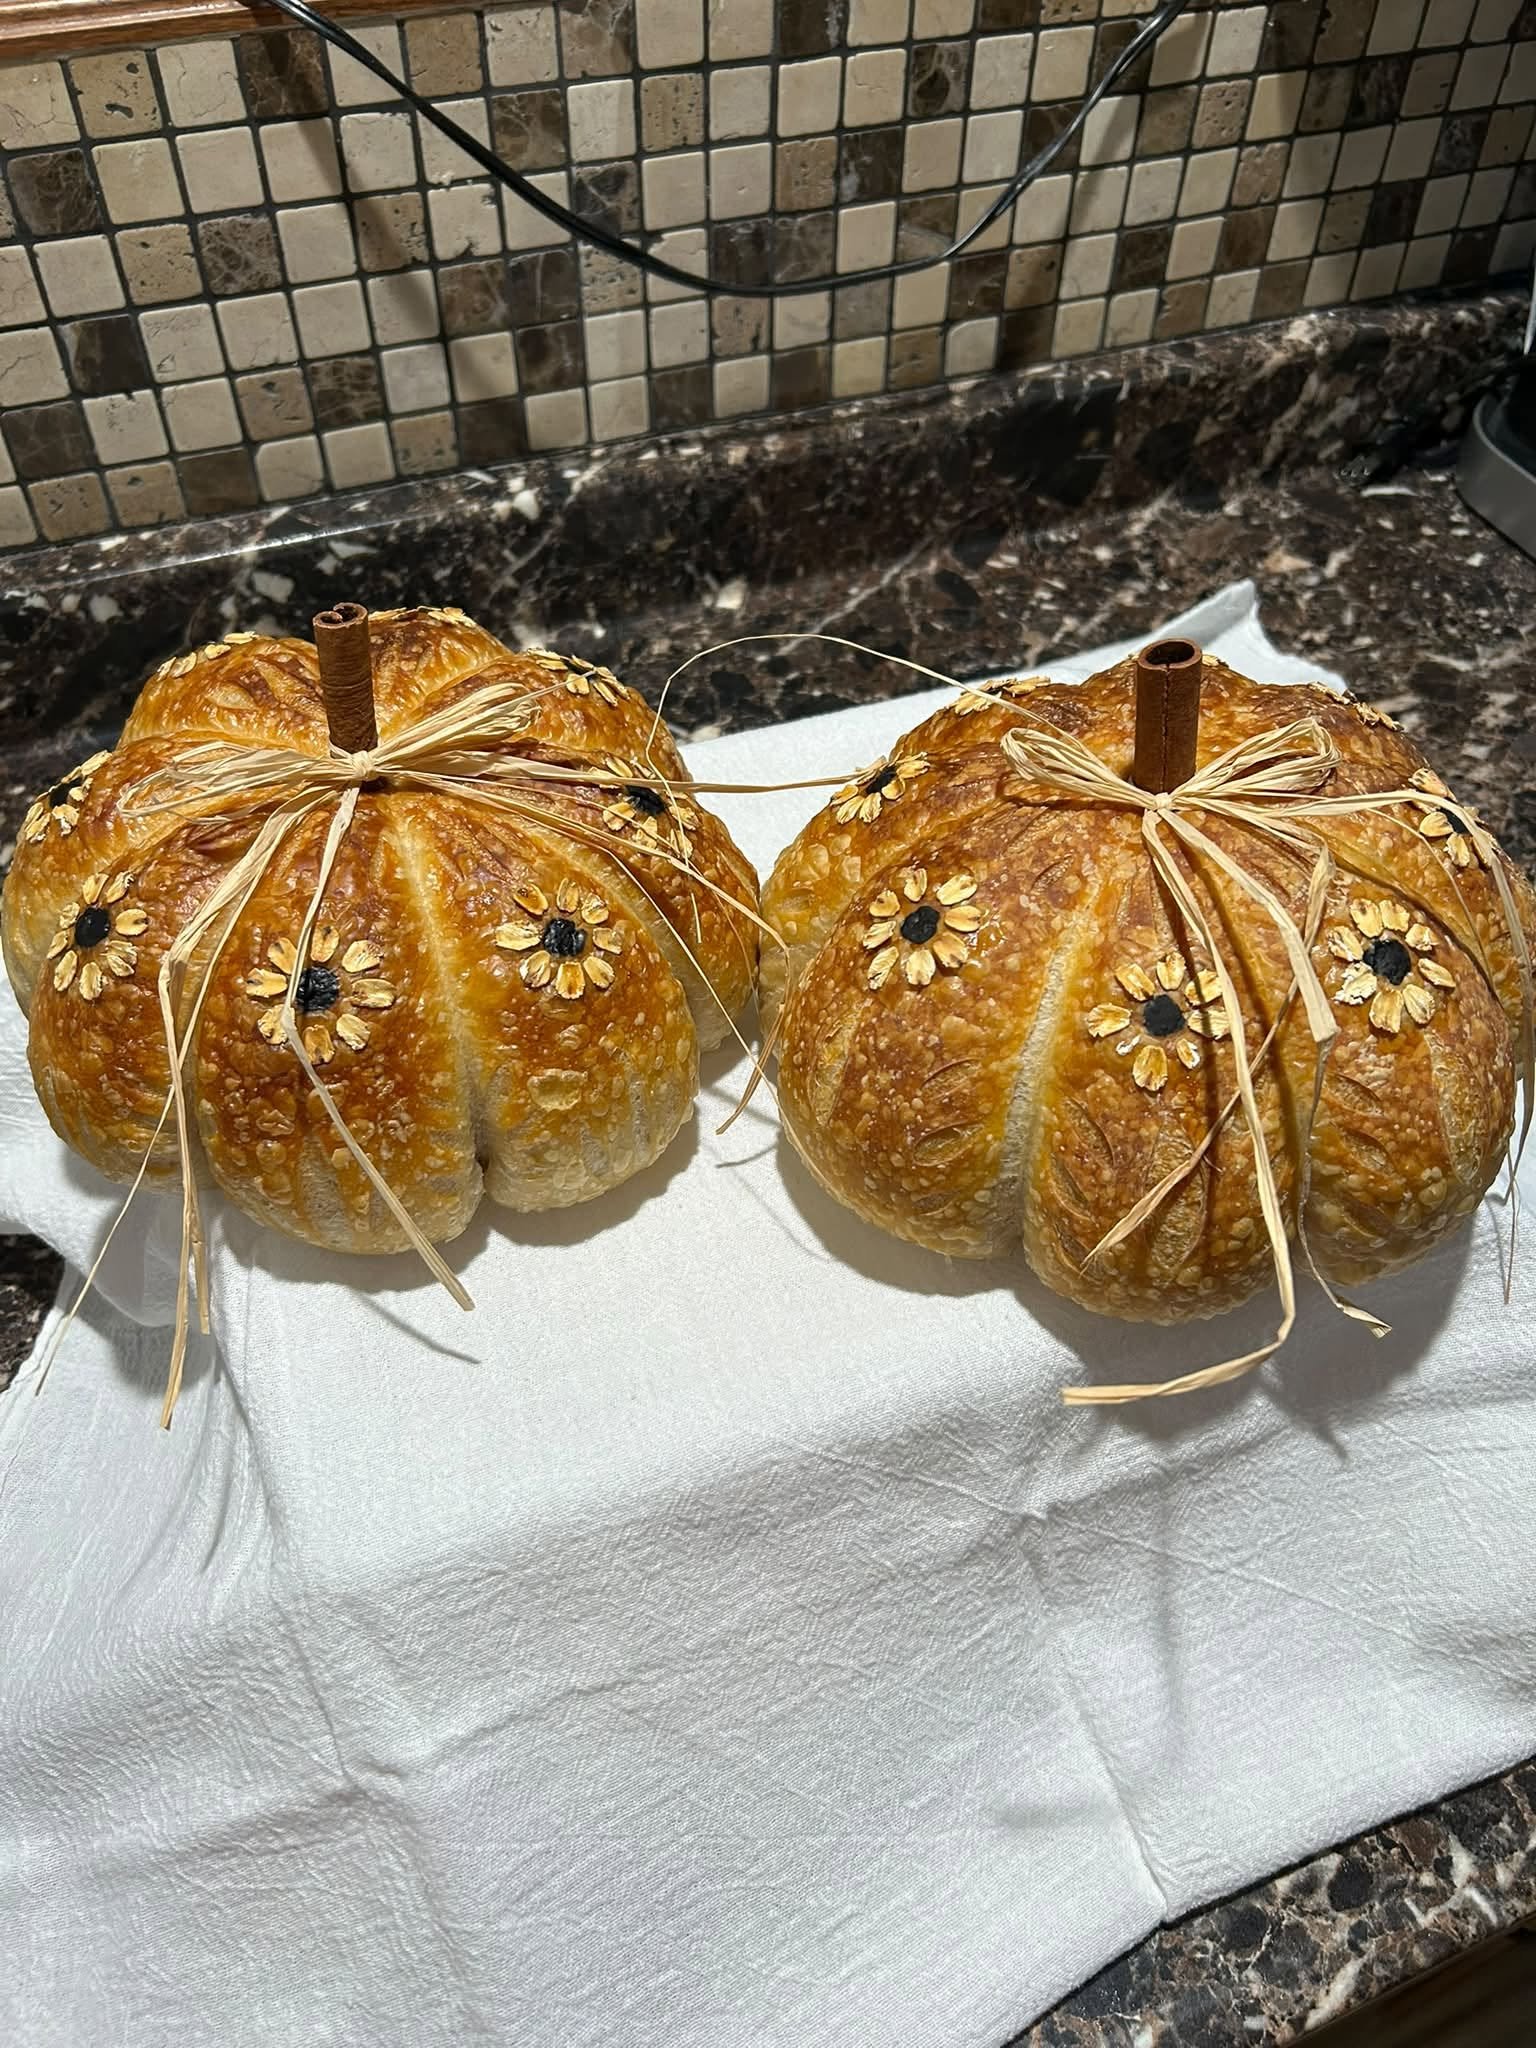
Pumpkin-shaped sourdough loaves have become a stunning viral tradition every autumn, turning a standard artisan loaf into a festive centerpiece that looks almost too good to cut into. The magic behind the shape isn’t a special mold or pan—it is all in how you tie and score the dough.
Here is a step-by-step guide to shaping, tying, and baking your own gorgeous pumpkin sourdough loaf:
What You Need
-
Active, bubbly sourdough starter (at the bulk fermentation stage, ready to shape)
-
Standard artisan sourdough dough (your favorite base recipe utilizing bread flour, water, salt, and starter)
-
100% cotton kitchen twine (unflavored and untreated)
-
Rice flour or all-purpose flour (for dusting so the twine doesn’t stick)
-
A cinnamon stick (to serve as the pumpkin stem after baking)
-
A sharp lame or razor blade (for scoring)
Step 1: Pre-Shape and Bench Rest
-
Turn your fermented sourdough dough out onto a lightly floured work surface.
-
Gently round it into a tight ball (boule) using a bench scraper and your hands to build surface tension.
-
Let it rest uncovered on the counter for 20 to 30 minutes (bench rest) so the gluten relaxes slightly.
Step 2: The Kitchen Twine Technique (The Secret to the Shape)
This is where the pumpkin transformation happens.
-
Cut four lengths of kitchen twine, each about 24 inches long.
-
Lay the pieces of string across your counter in a star pattern (like an asterisk or 8-pointed star), intersecting right in the center.
-
Dust the strings generously with rice flour so they won’t bake permanently into the crust.
-
Flip your rested dough ball upside down (seam-side up) right in the exact center of the crossed strings.
-
Bring the opposite ends of the strings up and gather them at the top center of the dough.
-
Tie them loosely: Tie the strings together snugly over the top, but do not tie them too tight, or the dough will burst out of the gaps as it expands in the oven. You want just enough tension to indent the sides and create lobes. Cut off any excessive trailing string.
Step 3: Final Proof and Scoring
-
Dust the top of your tied dough with rice flour and place it upside down into a floured proofing basket (banneton), or right-side up in a lined bowl.
-
Cover and let it complete its final proof (either overnight in the refrigerator for best flavor and scoring contrast, or at room temperature until puffy).
-
Invert the proofed loaf onto a piece of parchment paper. The string pattern should now be neatly embedded across the top.
-
Score lightly: Take your lame and make delicate, decorative crescent-shaped scores between the strings (not cutting into the strings) to give the loaf extra expansion room and a pretty leaf or ribbed pattern.
Step 4: Baking
-
Preheat your Dutch oven inside your oven at 450°F (230°C) for at least 45 minutes.
-
Carefully lower the parchment paper (with the pumpkin loaf) into the hot Dutch oven.
-
Cover with the lid and bake for 20 minutes (this traps steam for a great oven spring).
-
Remove the lid, drop the temperature to 425°F (220°C), and bake for another 20 to 25 minutes until the crust is deeply golden brown.
Step 5: The Reveal
-
Remove the loaf from the oven and let it cool completely on a wire rack.
-
Once the bread is completely cool, use a pair of kitchen shears or scissors to carefully snip the kitchen twine, gently pulling each strand away from the baked crust.
-
Push a real cinnamon stick right into the top center hole where the strings met to act as your pumpkin stem.
