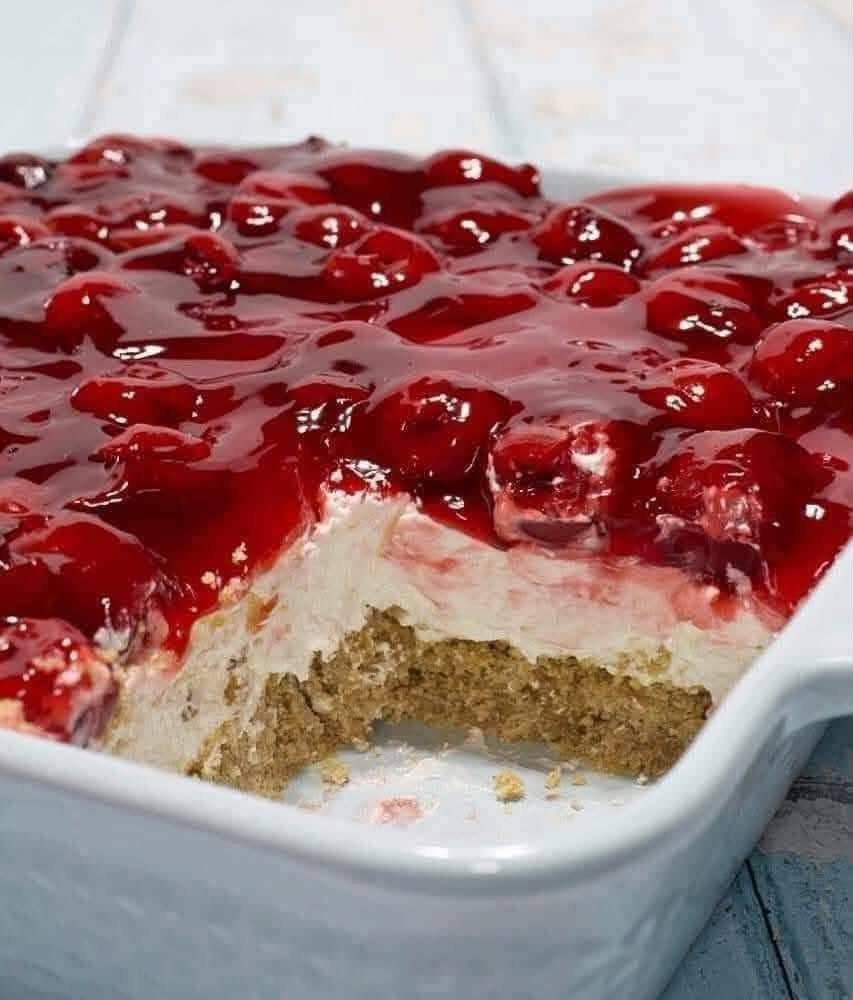
There is a wonderful nostalgia to Classic Cherry Delight—often known as a cherry lush or tiered dessert lasagna. It is a beloved potluck and holiday staple featuring a buttery, crumbly crust, a rich and creamy cheesecake-like middle, a sweet cherry fruit topping, and a fluffy whipped finish.
Because it is layered and chilled in the refrigerator, it cuts into clean, gorgeous squares and tastes cool, creamy, and refreshing.
Here is how to make a classic, crowd-pleasing Cherry Delight from scratch:
Ingredients
-
The Crust:
-
1 ½ cups graham cracker crumbs (about 10–12 full crackers, crushed)
-
⅓ cup granulated sugar
-
⅓ cup unsalted butter, melted
-
-
The Cream Cheese Layer:
-
8 oz cream cheese, softened to room temperature
-
1 cup powdered sugar
-
1 tsp vanilla extract
-
1 cup heavy whipping cream (or 1 tub/8 oz of thawed whipped topping like Cool Whip)
-
-
The Cherry Topping:
-
1 to 2 cans (21 oz each) cherry pie filling (chilled)
-
-
The Garnish (Optional):
-
Extra whipped cream or a dusting of crushed graham crackers on top.
-
Instructions
-
Prep the Crust:
-
Preheat your oven to 350°F (175°C).
-
In a mixing bowl, combine the graham cracker crumbs, granulated sugar, and melted butter until the mixture resembles wet sand.
-
Press the crumbs firmly and evenly into the bottom of an 8×8-inch or 9×13-inch baking dish (use a smaller dish for thicker, taller layers, or a 9×13 for thinner squares). Bake for 8 to 10 minutes until lightly golden, then let it cool completely.
-
-
Whip the Cream Layer:
-
In a large mixing bowl, beat the softened cream cheese, powdered sugar, and vanilla extract together until completely smooth and fluffy.
-
If using heavy whipping cream, whip it in a separate bowl until stiff peaks form, then gently fold it into the cream cheese mixture (if using Cool Whip, simply fold it in gently until smooth).
-
-
Assemble Layer Two: Spread the creamy cheesecake mixture evenly over your cooled graham cracker crust, smoothing the top with a spatula.
-
Add the Cherry Fruit Layer: Gently spoon the chilled cherry pie filling over the cream cheese layer, spreading the cherries out so they cover the dessert evenly.
-
Chill and Set: Place the baking dish in the refrigerator for at least 3 to 4 hours (or overnight is even better). This allows the layers to firm up completely so they slice into neat, beautiful squares.
Chef’s Tips:
-
Make-Ahead Friendly: This dessert actually tastes better on day two after the flavors have fully melded in the fridge, making it the ultimate stress-free make-ahead dish for family gatherings or dinners.
-
Variation: If cherries aren’t your favorite, you can easily swap the pie filling for strawberry, blueberry, or lemon curd!
Are you making this for a special family dinner, or just craving a cool, sweet treat?
