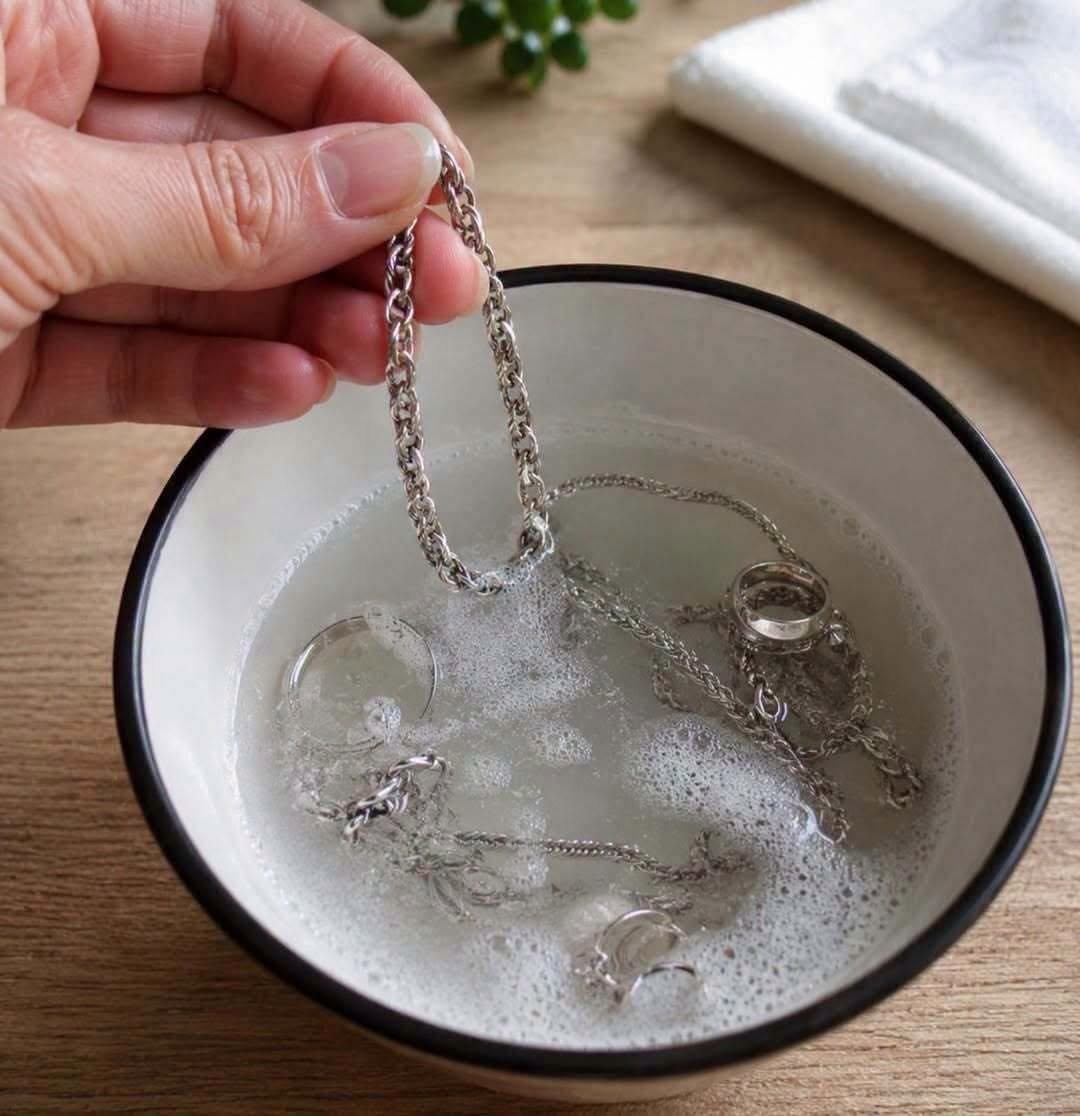
Catchy headlines like this frequently circulate across DIY and home-cleaning blogs, promising a miraculous, effortless way to restore dull silver. While the chemistry behind this trick is remarkably real and surprisingly fast, the claim that it restores shine “INSTANTLY” requires a little bit of practical nuance.
Here is how this classic household chemistry trick actually works, why it is so effective, and when you should—and shouldn’t—use it.
The Chemistry: How the “Miracle Solution” Works
When silver tarnishes, it isn’t actually dirt; it is a chemical reaction. Silver reacts with sulfur compounds in the air (from pollution, wool, rubber, or food), forming a dark, dull layer of silver sulfide.
The popular DIY solution relies on an electrochemical reduction reaction using three simple household items:
-
Aluminum foil (lining a bowl or pan)
-
Baking soda (sodium bicarbonate)
-
Hot boiling water
When you submerge tarnished silver into the hot bath so that it makes direct contact with the aluminum foil, a tiny electrical current forms. The sulfur transfers away from the silver and bonds with the aluminum instead (often leaving the aluminum looking dark or dull and smelling faintly of sulfur).
Does It Work Instantly?
-
The Tarnish Removal: Yes! For light to moderate tarnish, the chemical reaction happens almost the moment the silver touches the foil and hot water. You will literally watch the dark discoloration vanish in seconds without any harsh scrubbing.
-
The “Shine”: While the tarnish is gone instantly, the silver won’t automatically look like a mirror. Depending on how long it has been tarnished, you may need a quick, gentle buffing with a soft microfiber cloth afterward to bring back a brilliant, polished shine.
How to Do It Safely at Home
⚠️ Important Cautions: When NOT to Use This Method
While this is the safest and least abrasive way to clean solid sterling silver compared to harsh commercial dips, avoid using it on:
-
Antiques with “Patena” or intentional dark antiquing: This process strips away all dark areas indiscriminately. If an antique piece was designed with darkened crevices for contrast, this bath will ruin that artistic detail.
-
Gemstone or Pearl Jewelry: Pearls, opals, turquoise, and many other soft or porous gemstones can be permanently damaged by hot water, baking soda, and aluminum contact. Reserve this trick for solid metal pieces.
-
Hollow-handled silver knives: Many antique knives have handles held together with resin or cement that can melt or crack when submerged in boiling water.
