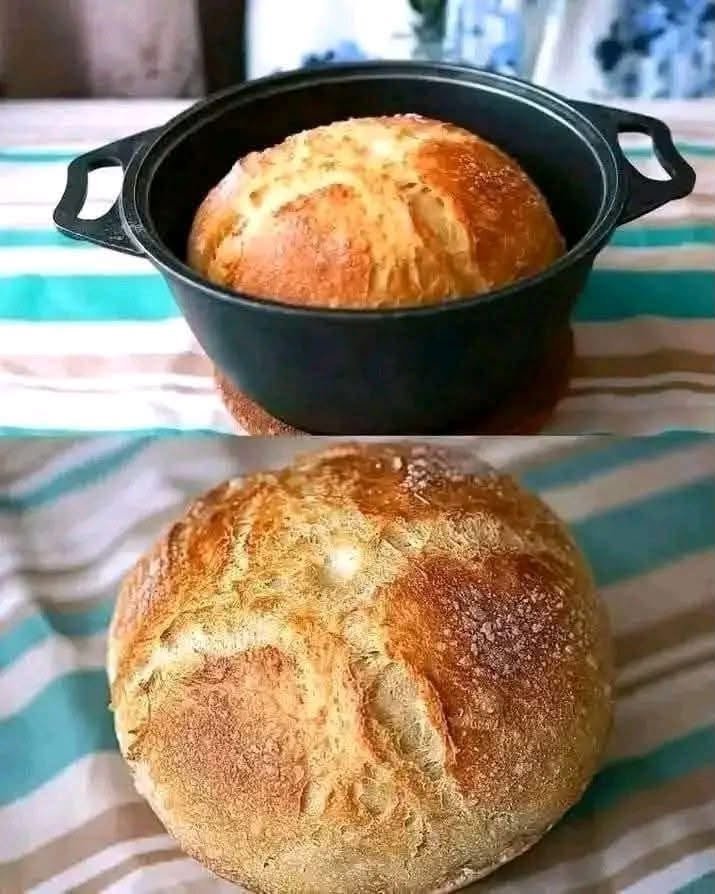
A No-Knead Crusty Artisan Bread is a triumph of time over physical effort. popularized by baker Jim Lahey, this method proves that you do not need a stand mixer, upper-body strength, or kneading techniques to produce a bakery-quality loaf with a blistered, crackling crust and an open, chewy crumb.
The secret lies in long, slow fermentation and high-heat baking inside a covered Dutch oven.
The Science Behind No-Knead Bread
Without manual kneading to align gluten strands, the dough relies on chemistry:
-
Enzymatic Gluten Development: When flour and water are mixed into a wet, sticky dough (high hydration), gluten strands form naturally over a long resting period through a process called autolyse and enzymatic action.
-
Wild Fermentation (Minimal Yeast): Using just a tiny pinch of yeast slows down the fermentation process, allowing the yeast to produce complex organic acids and alcohol that give the bread a rich, sourdough-like flavor without a starter.
-
The Dutch Oven Steam Chamber: Baking the wet dough inside a preheated, covered cast-iron pot traps the moisture evaporating from the dough. This creates an internal steam bath that keeps the crust flexible, allowing the loaf to achieve maximum oven spring before setting into a crisp, caramelized crust.
Ingredients
-
3 cups (384g) all-purpose flour (or bread flour for a chewier crumb)
-
1/4 teaspoon instant or active dry yeast
-
1 1/4 teaspoons kosher salt
-
1 1/2 cups (355ml) cool water
-
Optional dusting: Extra flour, wheat bran, or cornmeal for the proofing basket/surface
Step-by-Step Instructions
1.Mix the Ingredients:Combine into a sticky, wet dough.
In a large bowl, whisk together the flour, yeast, and salt. Add the cool water and stir with a wooden spoon or spatula just until a sticky, shaggy dough forms and no dry flour remains. It will look messy and wet—this is correct. Cover the bowl tightly with plastic wrap or a lid.
2.The Long Fermentation:Let time do the work (12 to 18 hours).
Leave the covered bowl at room temperature (about 65°F to 72°F) for 12 to 18 hours. During this time, the dough will bubble, rise, and double in size, and the surface will become dotted with gas bubbles.
3.Shape and Rest:Build surface tension.
Generously flour a work surface and scrape the sticky dough out of the bowl. Dust the top of the dough lightly with flour and fold it over on itself 2 or 3 times using a bench scraper. Shape it loosely into a round ball. Place the dough seam-side down onto a well-floured parchment paper sheet or a floured tea towel. Cover loosely and let it rest for 2 hours to rise a second time.
4.Preheat the Dutch Oven:Preheat the vessel to 450°F (230°C).
About 30 minutes before the second rise is complete, place a heavy 4-to-6-quart cast-iron Dutch oven with its lid on inside your oven and preheat it to 450°F (230°C).
5.Bake Covered:Trap the steam for a blistered crust.
Carefully remove the blazing hot Dutch oven from the oven. Using the edges of the parchment paper as a sling, lift the dough and drop it directly into the pot (you can leave the parchment underneath). Cover with the hot lid and bake for 30 minutes. The trapped steam will gelatinize the starches on the surface, creating that signature crust.
6.Bake Uncovered:Brown and caramelize.
Remove the lid from the Dutch oven and bake uncovered for another 15 to 20 minutes, or until the crust is a deep, mahogany brown. Remove from the pot and let the loaf cool completely on a wire rack for at least 1 hour before slicing.