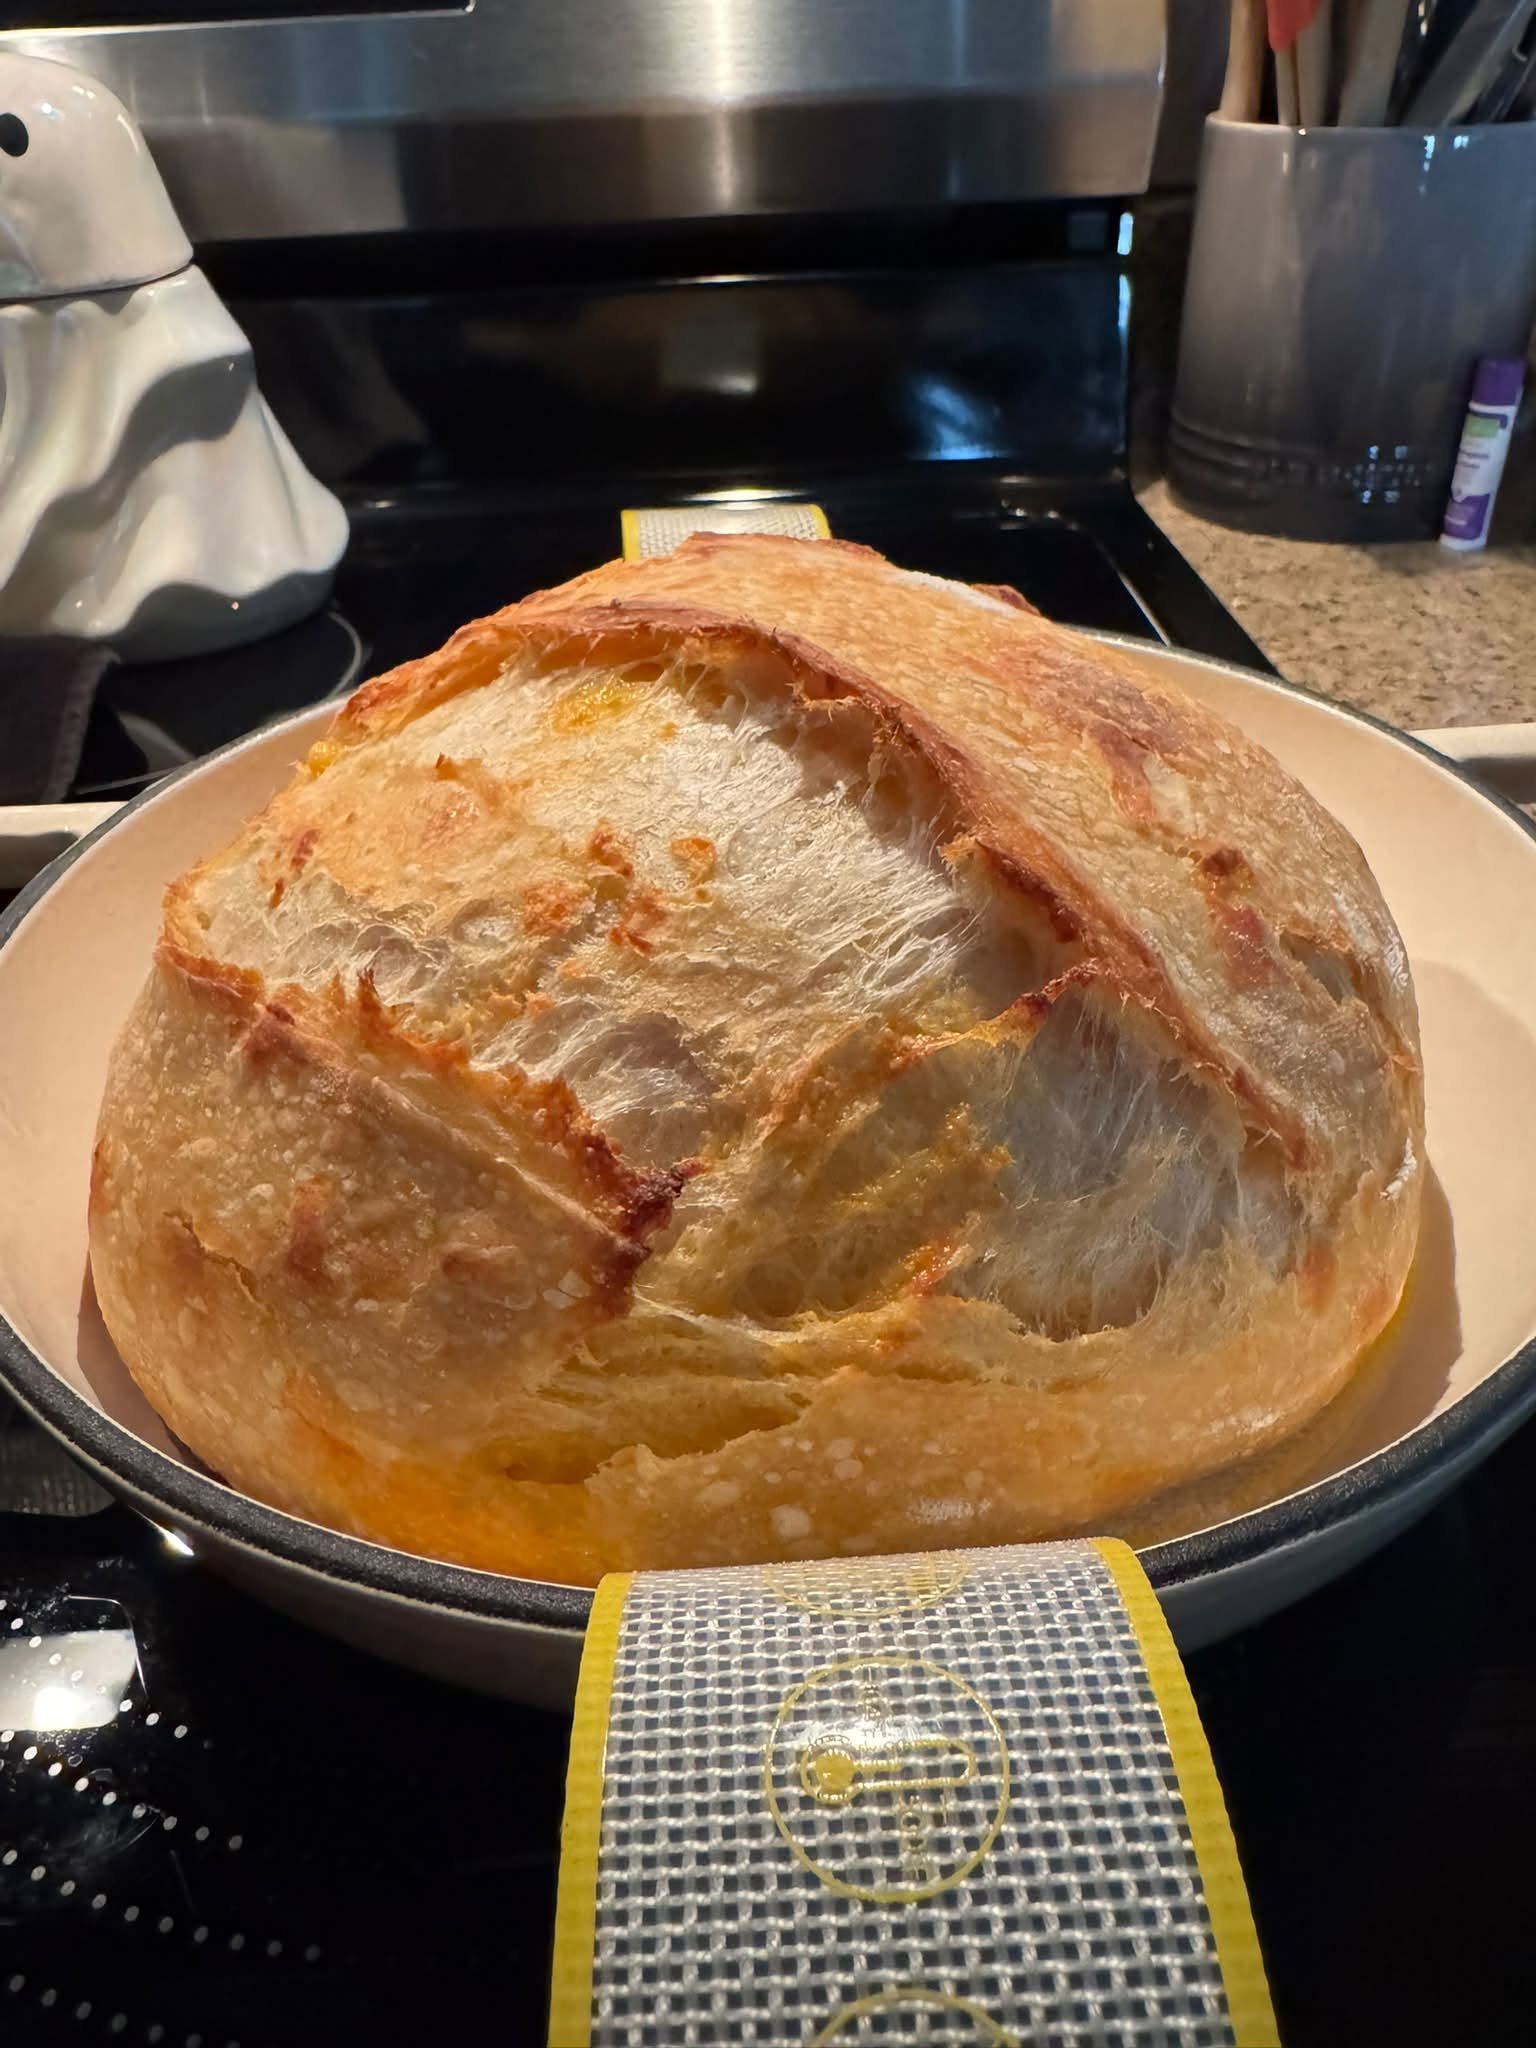
There is a deeply rewarding magic to baking a loaf of traditional Sourdough Bread. Unlike commercial yeast breads that rely on store-bought packets, sourdough uses a live fermented culture of wild yeast and beneficial bacteria (your starter) to rise. This creates that iconic, beautifully blistered crispy crust, a chewy, open-crumb center, and that signature complex, tangy flavor.
While making sourdough takes patience, the actual active hands-on time is quite manageable. Here is how to bake a classic artisan loaf right at home:
The Ingredients & Essentials
-
Active Sourdough Starter: 100g bubbly, active starter (fed and doubled in size within the last 4–6 hours).
-
Warm Water: 350g (filtered water works best).
-
Bread Flour: 500g unbleached bread flour (higher protein gives the best structure and chew).
-
Fine Sea Salt: 10g (about 1.5 teaspoons).
Step-by-Step Instructions
1. Autolyse and Mix (Morning)
-
Combine Flour and Water: In a large mixing bowl, whisk together the bread flour and warm water until no dry flour remains. Cover and let it rest (autolyse) for 45 to 60 minutes. This allows the flour to fully hydrate and begin developing gluten naturally.
-
Add Starter: Pour your active, bubbly starter over the dough. Dimple it in with your fingers, then pinch and fold the dough to thoroughly incorporate the starter. Let it rest for 20 minutes.
-
Add Salt: Sprinkle the sea salt and a splash of water over the dough. Fold and pinch it in until fully blended.
2. Bulk Fermentation & Stretch and Folds (First Rise)
Instead of traditional kneading, sourdough develops strength through gentle “stretch and folds” over the first couple of hours of bulk fermentation:
-
Perform 4 sets of stretch and folds spaced 30 minutes apart. (To do this, grab the underside of the dough, stretch it up gently, and fold it over the top. Rotate the bowl a quarter turn and repeat 4 times).
-
After the final folds, cover the bowl and let the dough rest undisturbed in a warm spot (around 75°F to 80°F) until it has increased in volume by about 50–75%, shows little gas bubbles on top, and jiggles slightly when shaken. This can take anywhere from 4 to 6 hours depending on your room temperature.
3. Shaping (Evening)
-
Pre-Shape: Turn the dough out onto a lightly floured surface. Using a bench scraper, gently round it into a loose ball. Let it rest uncovered on the counter for 20 minutes (bench rest).
-
Final Shape: Flip the dough ball over, fold the bottom up, the sides in like an envelope, and roll it tightly into a smooth cylinder or tight round loaf.
-
Place the shaped loaf upside down (seam side up) into a floured banneton (proofing basket) or a small bowl lined with a clean tea towel dusted heavily with rice flour.
4. Cold Retard (Overnight Fermentation)
-
Cover the banneton securely with a plastic bag or shower cap and place it in the refrigerator overnight (12 to 24 hours). This cold fermentation slows down the yeast, allowing complex lactic and acetic acids to develop that signature sourdough tang while making the dough much easier to score.
5. Baking (Next Morning)
-
Preheat the Dutch Oven: Place a heavy cast-iron Dutch oven (with its lid on) into your oven and preheat to 450°F (230°C) for at least 45 minutes to 1 hour. A scorching hot pot is the secret to a great oven spring and crust.
-
Score the Loaf: Turn your chilled dough out onto a sheet of parchment paper. Use a razor-sharp lame or razor blade to make a swift, confident slash across the top of the loaf at a 30-degree angle (this allows the bread to expand cleanly in the oven).
-
Bake Covered: Carefully lift the parchment paper and lower the loaf into the hot Dutch oven. Cover with the hot lid and bake at 450°F for 20 minutes. (The trapped steam inside the pot creates that blistered, shiny crust).
-
Bake Uncovered: Remove the lid, reduce the oven temperature to 400°F (200°C), and bake for another 20 to 25 minutes until the crust is a deep, gorgeous mahogany-brown.
-
Cool Completely: Transfer the loaf to a wire rack and let it cool completely for at least 1 to 2 hours before slicing. Cutting into hot sourdough releases the steam inside, making the crumb gummy rather than light and airy.
Chef’s Tips:
-
The Float Test: Not sure if your starter is ready to bake with? Drop a teaspoon of it into a glass of water. If it floats to the top, it has trapped enough gas and is active and ready to go!
-
Scoring Art: Feel free to get creative with your scoring patterns once you master a basic single slash—just make sure your primary expansion cut is deep enough!
Are you currently maintaining an active sourdough starter at home, or are you looking to start your very first one from scratch?
